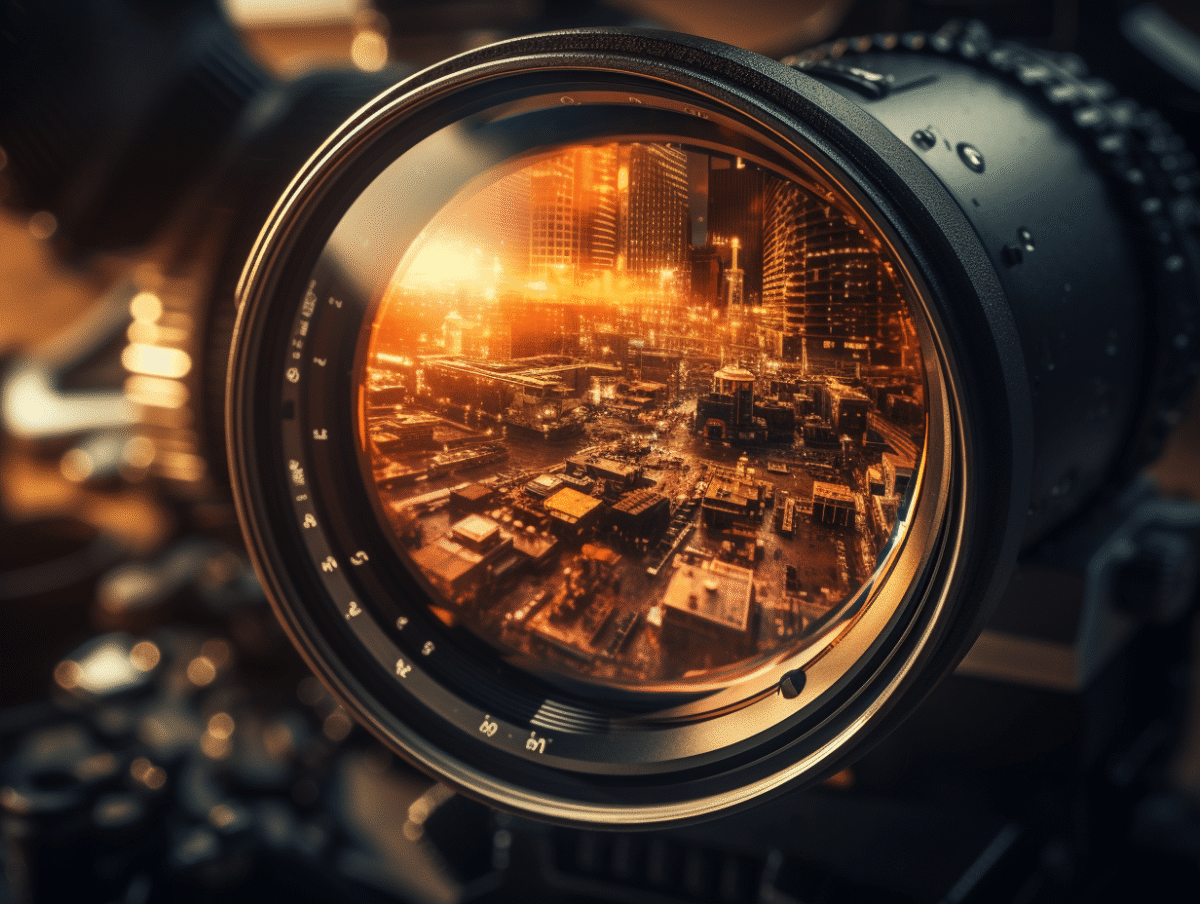
In the world of photography and printing, the quality of an image is paramount. The resolution of a photo, measured in DPI (Dots Per Inch), is a key factor that determines its sharpness, especially when considering printing it. A resolution of 300 DPI is often recommended for achieving professional-quality prints. For photographers, graphic designers, and printers, knowing how to check and adjust the resolution of an image is an essential skill. This ensures that printed photos will be clear and detailed, without blur or pixelation, even when enlarged.
Understanding Image Resolution and the Importance of 300 DPI
The resolution of an image, closely tied to its quality, depends on its pixels, those tiny dots that make up the entirety of the visual work. The preferred unit of measurement for expressing this resolution is DPI, or Dots Per Inch. In other words, a high DPI means a greater density of pixels on a given surface, resulting in finer detail and precision. 300 DPI is often considered the resolution threshold for quality printing, allowing for impeccable viewing at standard reading distance.
In the context of printing, DPI directly affects the final output. An image at 300 DPI ensures that each inch of your print will contain 300 distinct dots, thus providing optimal sharpness and clarity. The format of the image, determined by its pixel dimensions and resolution, is also a decisive factor in the appearance of the print. A large photo but with low resolution could turn out disappointing once printed, as it would lack the necessary pixel density for a sharp image.
For professionals and discerning amateurs, understanding how to check your photo’s resolution is therefore essential. DPI should not be confused with PPI (Pixels Per Inch), which measures pixel density on a screen. The quality of an image is perceived based on its resolution and viewing distance; a photo meant to be viewed up close requires a higher resolution than one intended for large format display, where the viewer stands back. Discern these nuances, and adjust accordingly to ensure that the quality of your images consistently meets your expectations.
Practical Methods to Check and Adjust Your Photo’s Resolution
First, to know the resolution of an image, the file explorer of your operating system serves as a quick and accessible initial tool. Right-click on the file, select ‘Properties’, then navigate to the ‘Details’ tab. There you will find the resolution in DPI as well as other relevant information such as pixel dimensions. This method provides immediate verification without the need for additional software.
If an adjustment is necessary, various image processing software offer the flexibility needed to modify the resolution. Programs like Adobe Photoshop or GIMP allow for precise control of DPI through a dedicated function, often accessible under the ‘Image’ tab then ‘Image Size’. The user can then enter the desired value, 300 DPI for high print quality, and the software will recalculate the image size accordingly. Be aware that increasing the DPI of a low-resolution image will not compensate for a lack of original detail and may even degrade visual quality.
Be mindful that resolution directly impacts the quality of the print. An image at 300 DPI will be printed with maximum finesse and clarity, while a lower resolution may result in a blurry or pixelated outcome. Before proceeding with printing, ensure that the resolution meets the standards required by your printer or professional printing service, and adjust if necessary to guarantee impeccable quality for your prints.